For take-home whitening trays, put one small bead of whitening gel, roughly half a sweetcorn kernel, on the inside front wall of each tooth space you are whitening, and no more: extra gel does not whiten faster, it squeezes out onto your gums. An NHS patient leaflet gives that half-kernel estimate per tooth, and a clinical trial of take-home gels used a bead 2 to 3 mm across on the front surface of each front tooth in the tray.
Written by Dr James Tran, BDent (University of Sydney), MICOI, GradDip (Oral Implants), general dentist at Lumi Dental in Melrose Park.
The short version
- Place a small bead of gel on the inside front wall of each tooth space being whitened. Our guide to how custom whitening trays work explains how the tray holds gel against the tooth.
- Load only the teeth that show in your smile unless your dentist says otherwise. Molars usually need no gel.
- Brush and floss first, so the gel sits on clean enamel.
- Seat the tray with gentle finger pressure, then wipe off anything that escapes with a tissue or a soft, dry toothbrush.
- Gel oozing onto the gums or a stinging gum line means too much was loaded.
- Rinse and brush the trays in cool water, never hot water or the dishwasher, and air dry them in their case.
How much gel goes into each tooth space
Patient instructions describe the amount in practical terms rather than millilitres. A vital bleaching leaflet from NHS Tayside in Scotland gives half a sweetcorn kernel per tooth as the estimated amount and says the dentist will show it to you. Leeds Teaching Hospitals asks patients to apply a small amount of gel into each space on the tray as their dentist instructs. A split-mouth clinical trial of low-concentration take-home gels standardised the dose as a bead 2 to 3 mm across on the front surface of each front tooth, with the excess gently removed.
One Australian manufacturer's take-home guide asks for a small drop in every compartment for the teeth being treated, and estimates that about one sixth of a 3 g syringe covers both upper and lower trays in one session. In my experience, the common error is not too little gel. It is a line of gel run along the whole tray like icing on a cake, which has nowhere to go once the tray is pressed on.
The single rule: one small bead on the front of each tooth that shows
If a tooth shows in your smile and is part of your whitening plan, give its space one small bead of gel on the side that faces your lips. If a tooth is not being whitened, leave its space empty.
The gel only needs to cover the outer surface of the tooth, and a well-fitting custom tray holds a thin film against the enamel for the wear time. More gel does not speed that up. It spills over the tray edge onto the gum, where it can irritate. The NHS Tayside leaflet notes that gel spreading onto the gum could mean too much is being used.
Trays often extend further back for grip, but most people only need gel in the teeth that show, typically from the second premolar forward. Our article on which teeth show when you smile explains how that end point is chosen. One US dental laboratory's tray instructions say to load each tooth area excluding the molars.
Loading, seating and wiping off the excess
Start with clean teeth: Leeds tells patients to clean their teeth thoroughly before bleaching, and one major brand's handout says to brush and floss. If your teeth are already sensitive, brush gently with a soft brush rather than scrubbing just before. The NHS Tayside leaflet suggests a sensitive toothpaste containing 5% potassium nitrate during whitening.
- Remove the syringe cap and attach the applicator tip, if your kit uses one. One Australian manufacturer advises using the gel at room temperature.
- Hold the tray with the inside facing you and place one small bead on the front wall of each tooth space you are whitening.
- Line the tray up over the front teeth, then press it home with your fingers. Biting down hard pushes gel out past the edges.
- Check in a mirror and wipe any gel on the gums with a tissue or a soft, dry toothbrush.
- Wear the trays for the time you were given, and do not eat, drink or smoke while they are in.
Wear times vary between products, from 15 to 30 minute sessions for some hydrogen peroxide gels to two hours or overnight for lower-strength carbamide peroxide gels in that manufacturer's guide. Our article on wearing whitening trays overnight or during the day compares the two.
What too much gel looks like, and how to fix it
You usually know within a minute. Gel oozes past the tray edge, collects at the gum line or tastes strong in your saliva, and the gum next to the edge may sting or turn white. Leeds Teaching Hospitals notes that gum irritation from bleaching gel can be reduced by using the correct amount and wiping away any excess, and that some whitening of the gum normally settles a few days after stopping. If you have swallowed some, see our article on swallowed whitening gel or gel on your lips.
| Loading mistake | What tends to happen | What to do instead |
|---|---|---|
| A continuous line of gel along the tray | Gel squeezes onto the gums and into saliva | One small bead per tooth space being whitened |
| Gel in molar spaces you are not whitening | More gel to swallow, no visible benefit | Load only the teeth in your plan |
| Gel on the biting edge or back wall | Gel is forced out as the tray is seated | Place the bead on the front wall only |
| Biting down to seat the tray | Gel is pushed past the edges | Seat it with gentle finger pressure |
| Skipping the wipe | Gel sits on the gum for the whole session | Wipe the gum line with a tissue or dry soft brush |
| Extra gel to speed things up | More irritation, not faster whitening | Keep to the amount and wear time you were given |
If gel escapes at the same spot even with a small bead, the tray edge may sit on the gum. One brand's patient handout notes that trays extending onto the gums may cause irritation and suggests having the dentist trim them.
Taking the trays out and cleaning them
Leeds Teaching Hospitals tells patients to remove, rinse and brush the tray, rinse their mouth thoroughly with cold water and brush their teeth as normal.
Rinse the trays under cool running water and use a soft toothbrush to lift leftover gel out of each tooth space. One major brand's support advice says to rinse with cold water and not to use soaps, hot water or a dishwasher, as this may deform the trays. Instructions differ on soap: one US dental laboratory allows a mild, unscented dish soap in warm water up to 45°C, and warns that hot water, mouthwash, alcohol or bleach can warp or discolour the material. Follow the instructions that came with your trays. I usually suggest leaving toothpaste off them, as it is gritty and can scuff the thin plastic.
Storing the trays and the gel
Put the clean trays in their case and let them air dry before closing the lid. Keep the case away from heat, such as a car dashboard, and out of reach of pets: a warped tray no longer seals, and gel leaks out.
Gel storage depends on the product. The Leeds leaflet asks patients to keep the gel in the fridge and out of reach of children, while one major brand advises a dark, dry place at 15 to 25°C, not refrigerated, with an opened syringe used within 30 days. Read your own label. Our article on whether whitening gel expires and how to store it has more detail.

How we approach this at Lumi Dental
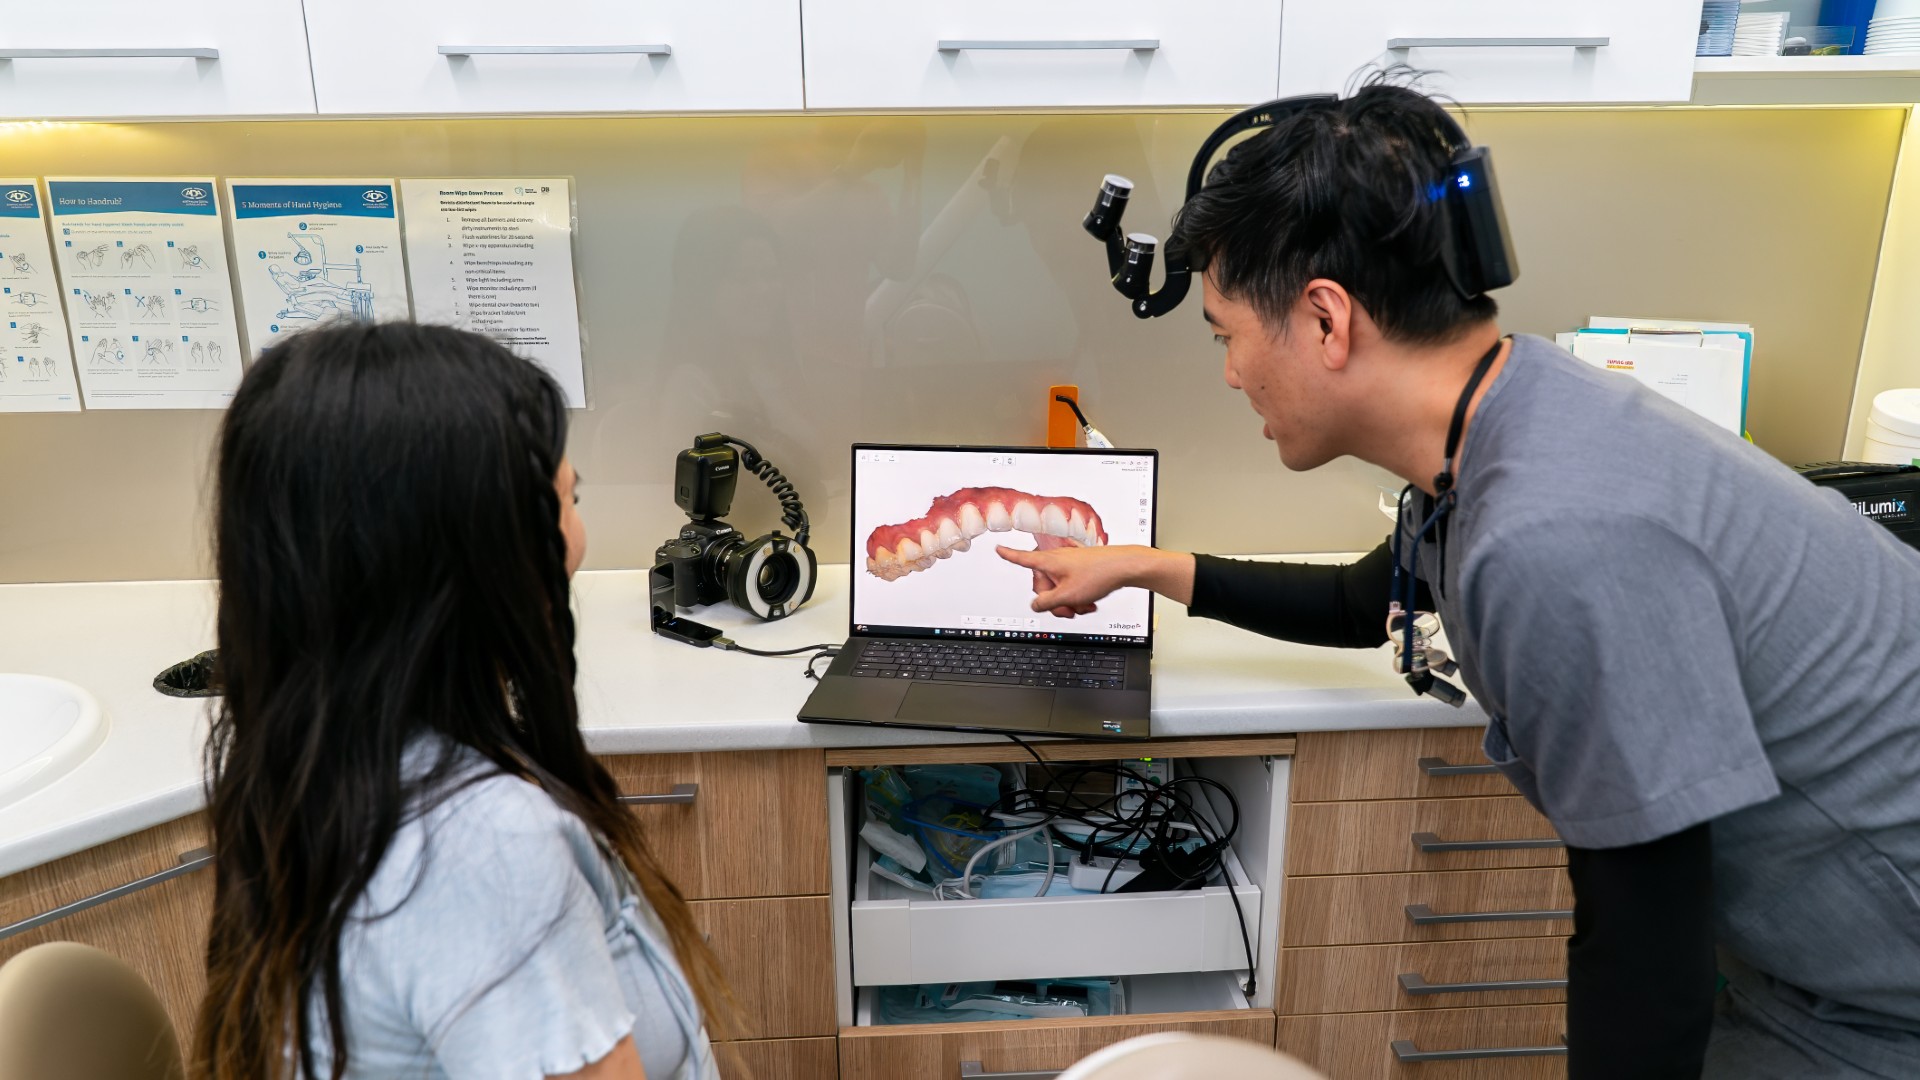
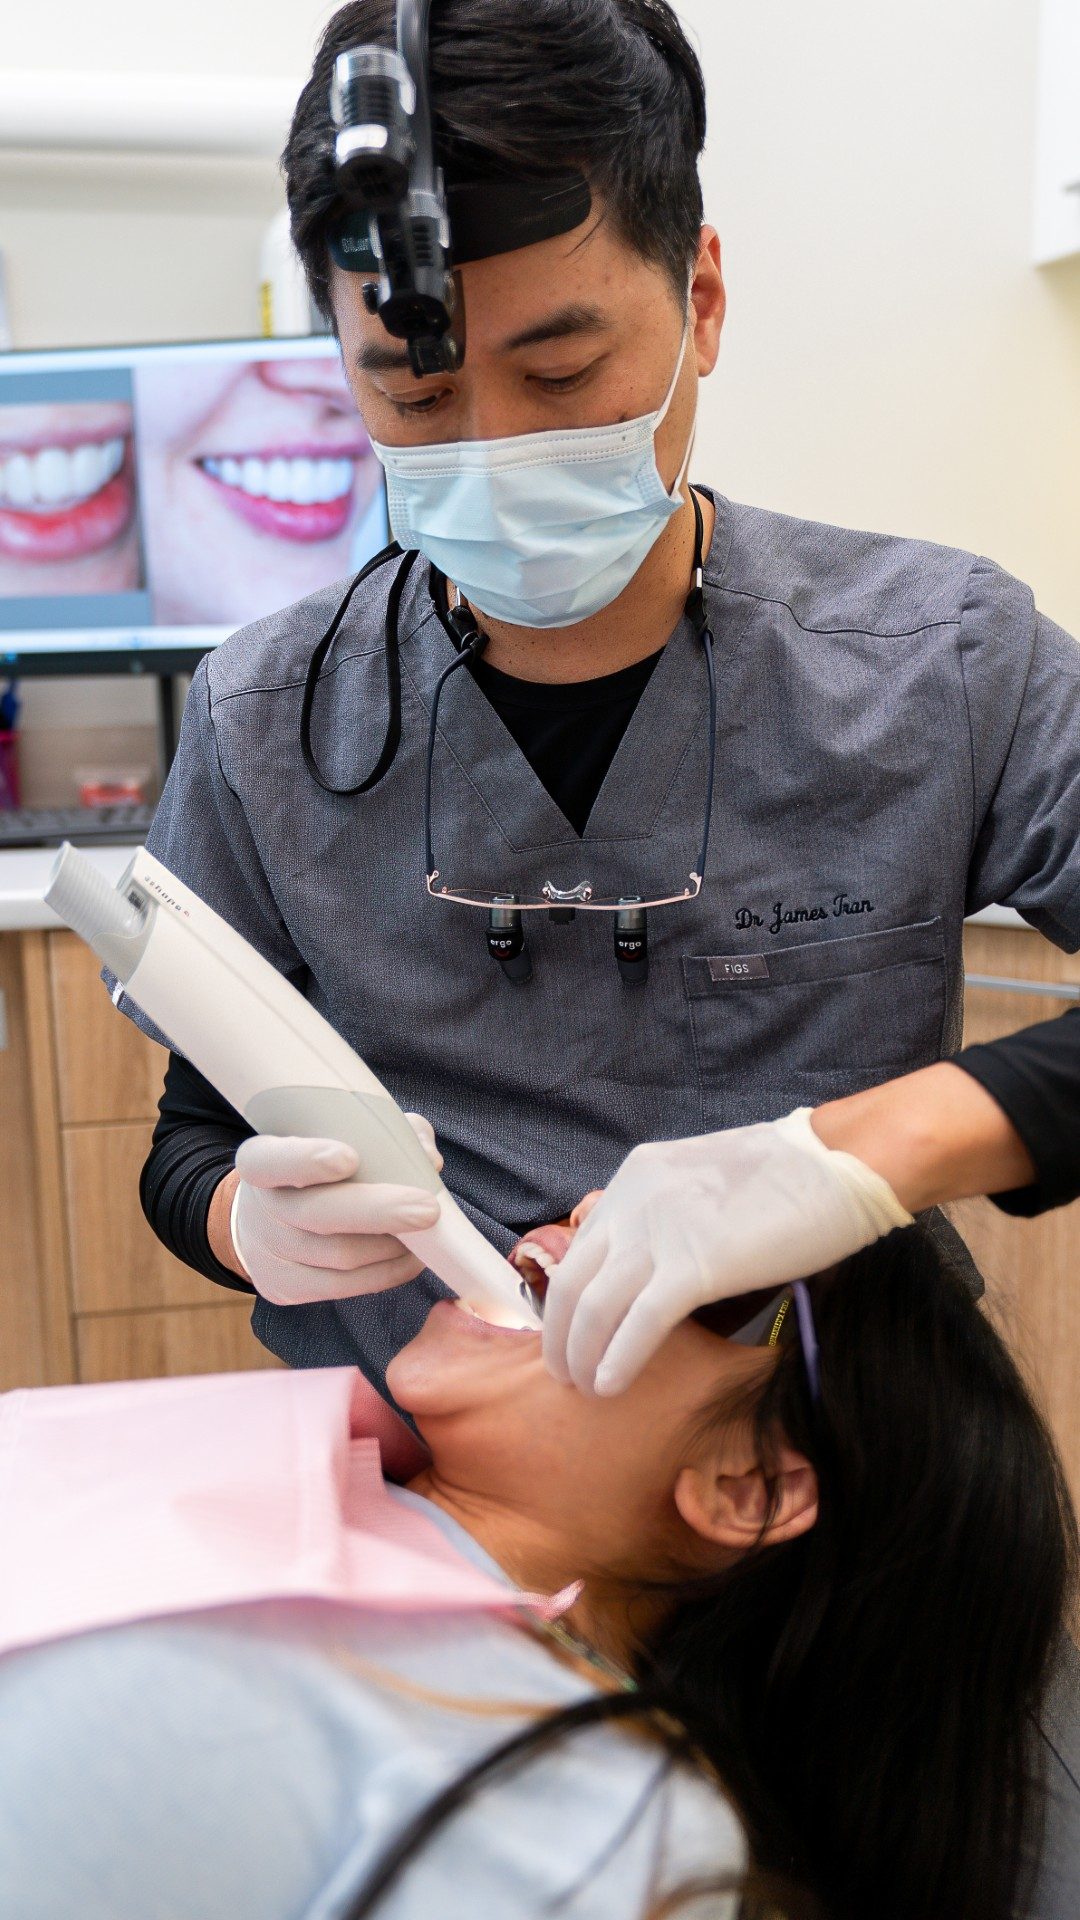
Take-home whitening at Lumi Dental starts with an examination by the dentist, to check for decay, gum problems and any fillings or crowns in the smile that will not change colour. Trays are made from an in-house 3D intraoral scan, described on our technology page, and planned around the teeth your smile shows. At the fitting, the team checks the tray edges and shows you how much gel to load, which spaces to use and how to wipe off the excess. The whitening options are named Lumi Home, Lumi Refresh and Lumi Radiance.
Questions patients ask
How much whitening gel should I put in each tray?
A small bead in each tooth space you are whitening, often described as about half a sweetcorn kernel per tooth. One Australian manufacturer estimates about a sixth of a 3 g syringe covers an upper and a lower tray together.
What happens if I put too much gel in my trays?
The extra gel squeezes onto the gums and into your saliva, which can cause stinging and white patches on the gum. Wipe it off and use less next time. Our article on gum irritation after teeth whitening explains how long it usually lasts.
Should I brush before or after using whitening trays?
Both. Brush and floss before loading, then rinse and brush as normal after taking the trays out.
Can I clean whitening trays with hot water?
No. Manufacturers warn that hot water and dishwashers can deform the trays. Cool water and a soft toothbrush are enough for daily cleaning.
Do I need to put gel in the back teeth?
Usually not. Most people only need gel in the teeth that show when they smile, unless their dentist says otherwise. A cosmetic consult can confirm which teeth your trays need to cover.
Thinking about whitening? Complimentary cosmetic consult in Melrose Park
If your trays leave gel on your gums, or you are starting take-home whitening, the team at Lumi Dental can check the fit, show you how to load the gel and plan which teeth to treat. Book a complimentary cosmetic consult at Melrose Central in Melrose Park, or read more about teeth whitening at Lumi Dental. Patients visit from Ryde, Parramatta, Ermington and Rydalmere, with on-site parking.
Sources
- Leeds Teaching Hospitals NHS Trust: Tooth whitening, information for adult patients
- NHS Tayside: Vital tooth bleaching, patient information
- Effect of low-concentration at-home bleaching gels on whitening and tooth sensitivity: a split mouth randomized clinical trial (PMC)
- Philips: How do I store the whitening trays and gels?
About the author
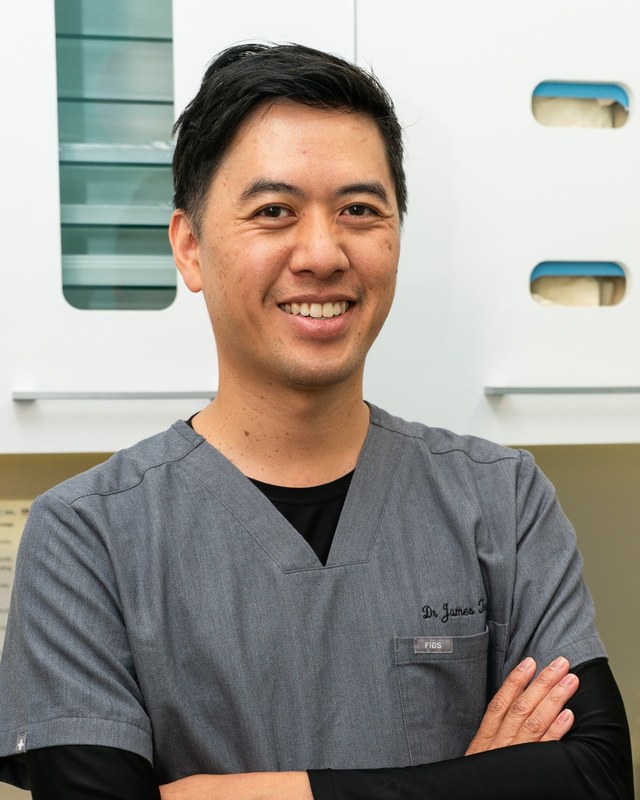
Dr James Tran is a general dentist at Lumi Dental in Melrose Park. He holds a BDent from the University of Sydney and a Graduate Diploma in Oral Implants, and is a Member of the International Congress of Oral Implantologists (MICOI).
This article is general information only and is not a substitute for an examination and individual advice from a registered dental practitioner. Suitability for any treatment varies from person to person.