You do not need to see your teeth to whiten them safely: what matters is a measured amount of gel, trays you can tell apart and seat by feel, and a shade check you can trust, which the dentist records with a shade guide and photographs and then describes to you. Vision Australia estimates that around 453,000 people in Australia are blind or have low vision. Teeth whitening with low vision or blindness is mostly a matter of touch, timing and routine, and the visual steps can be handed to the dental team.
Written by Dr James Tran, BDent (University of Sydney), MICOI, GradDip (Oral Implants), general dentist at Lumi Dental in Melrose Park.
The short version
- Low vision or blindness does not rule out whitening. It changes how gel is measured and how the result is judged.
- Gel can be loaded by counting: one small bead per tooth space, placed by fingertip position rather than by sight.
- Upper and lower trays can be told apart by shape, and a tactile mark on the case makes the routine quicker.
- Sensitivity and gum stinging are felt, not seen, so the rules for stopping are the same as for anyone.
- Everyday brushing, cleaning between the teeth and arriving at the clinic are covered in our guide to dental care with low vision or blindness. This article is only about whitening.
- Eye drops and eye medicines belong with your optometrist or ophthalmologist. Nothing changes for the sake of whitening.
The single rule: measured gel, trays you can seat by feel, a shade you can trust
A take-home course asks you to load gel into a tray, seat it, remove the excess, wear it for a set time and clean up. Each step can be done by touch once the routine is set. The one step that relies on eyes, judging the shade, is better done by the dental team anyway, because even sighted people judge their own tooth colour poorly. In my experience, people who are blind or have low vision usually have well-practised routines already, and tray whitening fits into them well.
| Task | What may help |
|---|---|
| Loading gel | One small bead per tooth space, counted from the midline outwards, with the tray resting on a fingertip |
| Seating trays | Feel for the deeper upper tray and the narrower lower tray; press gently from the front teeth back |
| Removing excess gel | Run a clean fingertip or soft dry toothbrush along the gum line, then rinse and spit |
| Checking for gum irritation | Notice stinging or a burning gum line; run the tongue along the gums after each session |
| Judging the shade | A shade number and photographs recorded by the dentist at the start and at review, described in words |
| Storing gel | Syringes kept in one marked container in the fridge or a cool cupboard, as instructed |
| Following instructions | Ask for the format that suits you: large print, a screen-reader friendly email, a recording or a phone call |
Loading gel by touch
Too little gel does very little, and too much squeezes onto the gums. Our guide to how much whitening gel to put in your trays explains the one small bead per tooth rule.
- Hold the tray with the tooth spaces facing up and rest it on the fingertips of one hand.
- Find the centre of the tray, between the two front teeth, by feel.
- Place one bead on the inside front wall of each tooth space, counting out to the left, then back to the centre and out to the right.
- Stop at the teeth that show when you smile. The dentist will tell you how many teeth that means for you.
Some people count a short, steady squeeze of the syringe per tooth instead, or keep the tip touching the tray wall to feel where the gel lands. Practise once in the chair with the dentist or oral health therapist until the count feels automatic.
Telling the upper and lower trays apart
The upper tray is usually wider and deeper at the back, and its front curve follows the larger upper front teeth. The lower tray is narrower and more horseshoe shaped. If the two still feel too alike, ask whether a small notch or smoothed corner can be added, or keep them in a case with a raised sticker or rubber band on the upper side.
Seating the trays and wiping off the excess
Seat each tray with gentle finger pressure, starting at the front teeth and pressing back along each side. Then run a clean fingertip or a soft, dry toothbrush along the gum line to remove anything that has squeezed out.
Sensitivity and gum irritation are felt, not seen
The two common side effects of whitening need no eyesight to notice. Sensitivity feels like a short zing with cold air or drinks, and gum irritation like stinging where the gel touched the gum. Our article on how long sensitivity after whitening lasts explains the usual pattern and what eases it.
The rules for stopping are the same as for anyone:
- If a tooth aches rather than zings, take the trays out and call the practice.
- If the gums sting for more than a short while after a session, rinse, skip the next session and call.
- If a sore patch on the gum does not settle within a few days, have it checked.
A pale patch on the gum after gel contact is something a trusted person can check for, but how the gum feels is usually the more useful guide.
Judging the shade without relying on sight
Judging tooth colour by eye is unreliable for everyone. In one study, dental students matching the shade of patients' front teeth against a standard shade guide chose the correct tab only about a third of the time, across different lighting conditions.
What can be recorded for you
- A shade number from a shade guide, taken before you start and again at review, and read out to you.
- Photographs taken under the same light at each visit, so the comparison is fair.
- A plain description, such as the front teeth moving a few steps lighter and the eye teeth less.
A trusted person's opinion helps too, but lamplight at home in the evening may not match clinic lighting, which is why photographs are taken under the same light each time. Our article on how many shades whiter whitening can go explains what a realistic change looks like. If you also have colour vision deficiency, our guide to tooth shade matching when you are colour blind covers how the team keeps you involved.
In-chair whitening, the lamp and light sensitivity
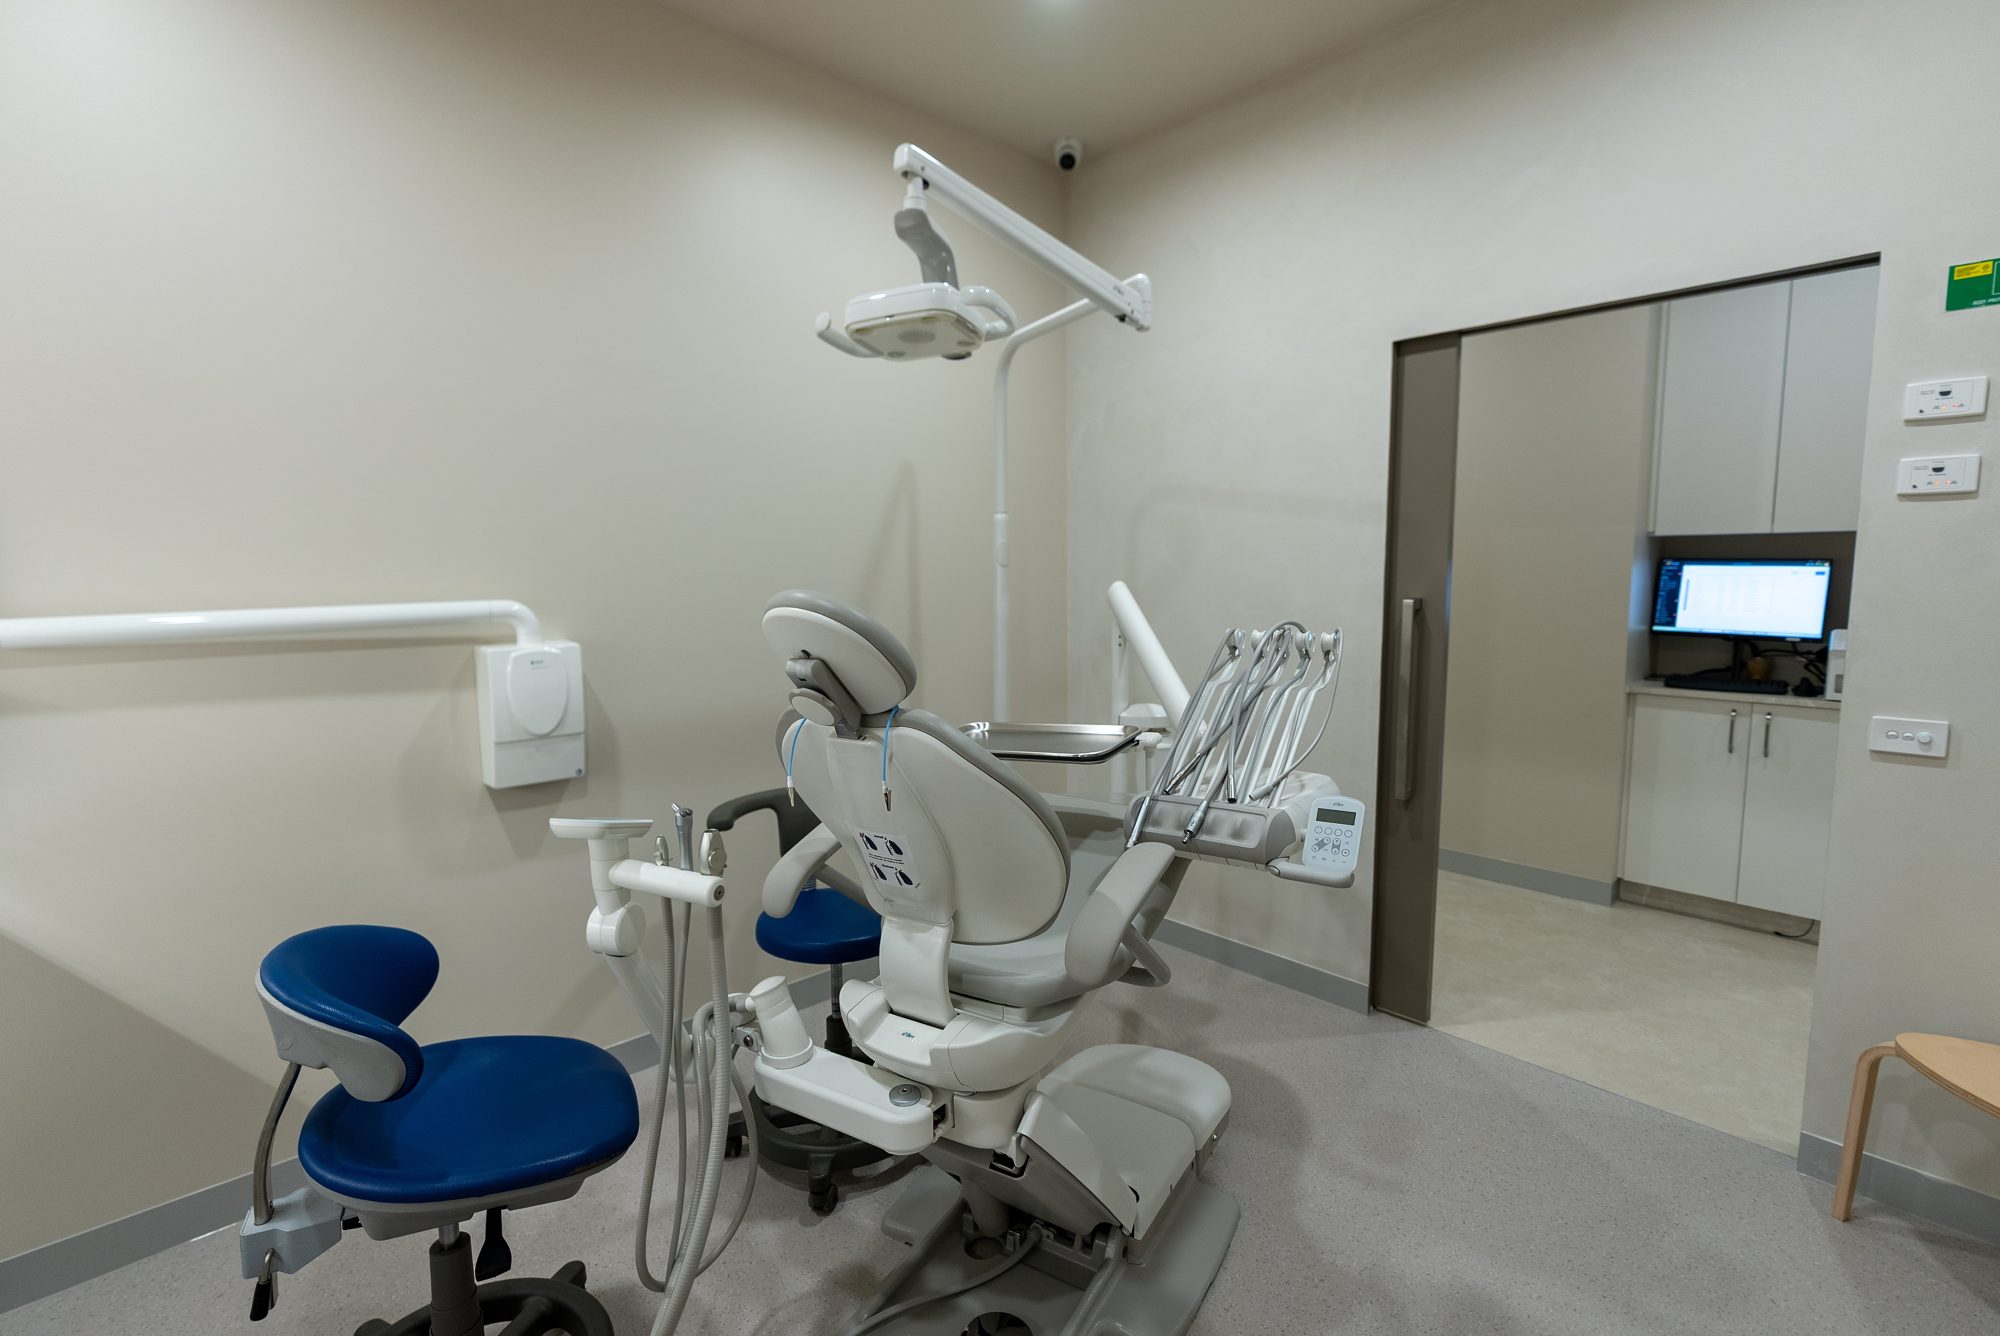
In-chair whitening needs no tray handling at all. Our guide to in-chair whitening explains each stage. Ask the team to describe each step before it happens: the cheek retractor, the gum barrier, the gel and any light.
Light and glare
Vision Australia lists sensitivity to light and glare among common signs of low vision, and Macular Disease Foundation Australia notes that cataract can bring increased sensitivity to bright light and glare, with antiglare sunglasses one of the measures that may help early symptoms. A dental overhead light is bright and close to the face. Tinted protective glasses are usually offered, and you can bring your own sunglasses or ask for the light to be angled away.
Bring your usual eye drops if you use them, and keep using them exactly as your optometrist or ophthalmologist advises. Whitening is never a reason to change an eye medicine.
Instructions in a format that suits you
Vision Australia encourages organisations to offer a choice in how information is delivered, including formats such as braille, large print, audio and electronic text. For whitening, useful options include:
- a screen-reader friendly email with the steps numbered and no instructions hidden in images,
- large print with the wear times and storage rules at the top,
- a short audio recording of the dentist or oral health therapist talking through the routine,
- a phone call after the first night to check that everything went to plan.
Ask for the format that suits you.
How we approach this at Lumi Dental
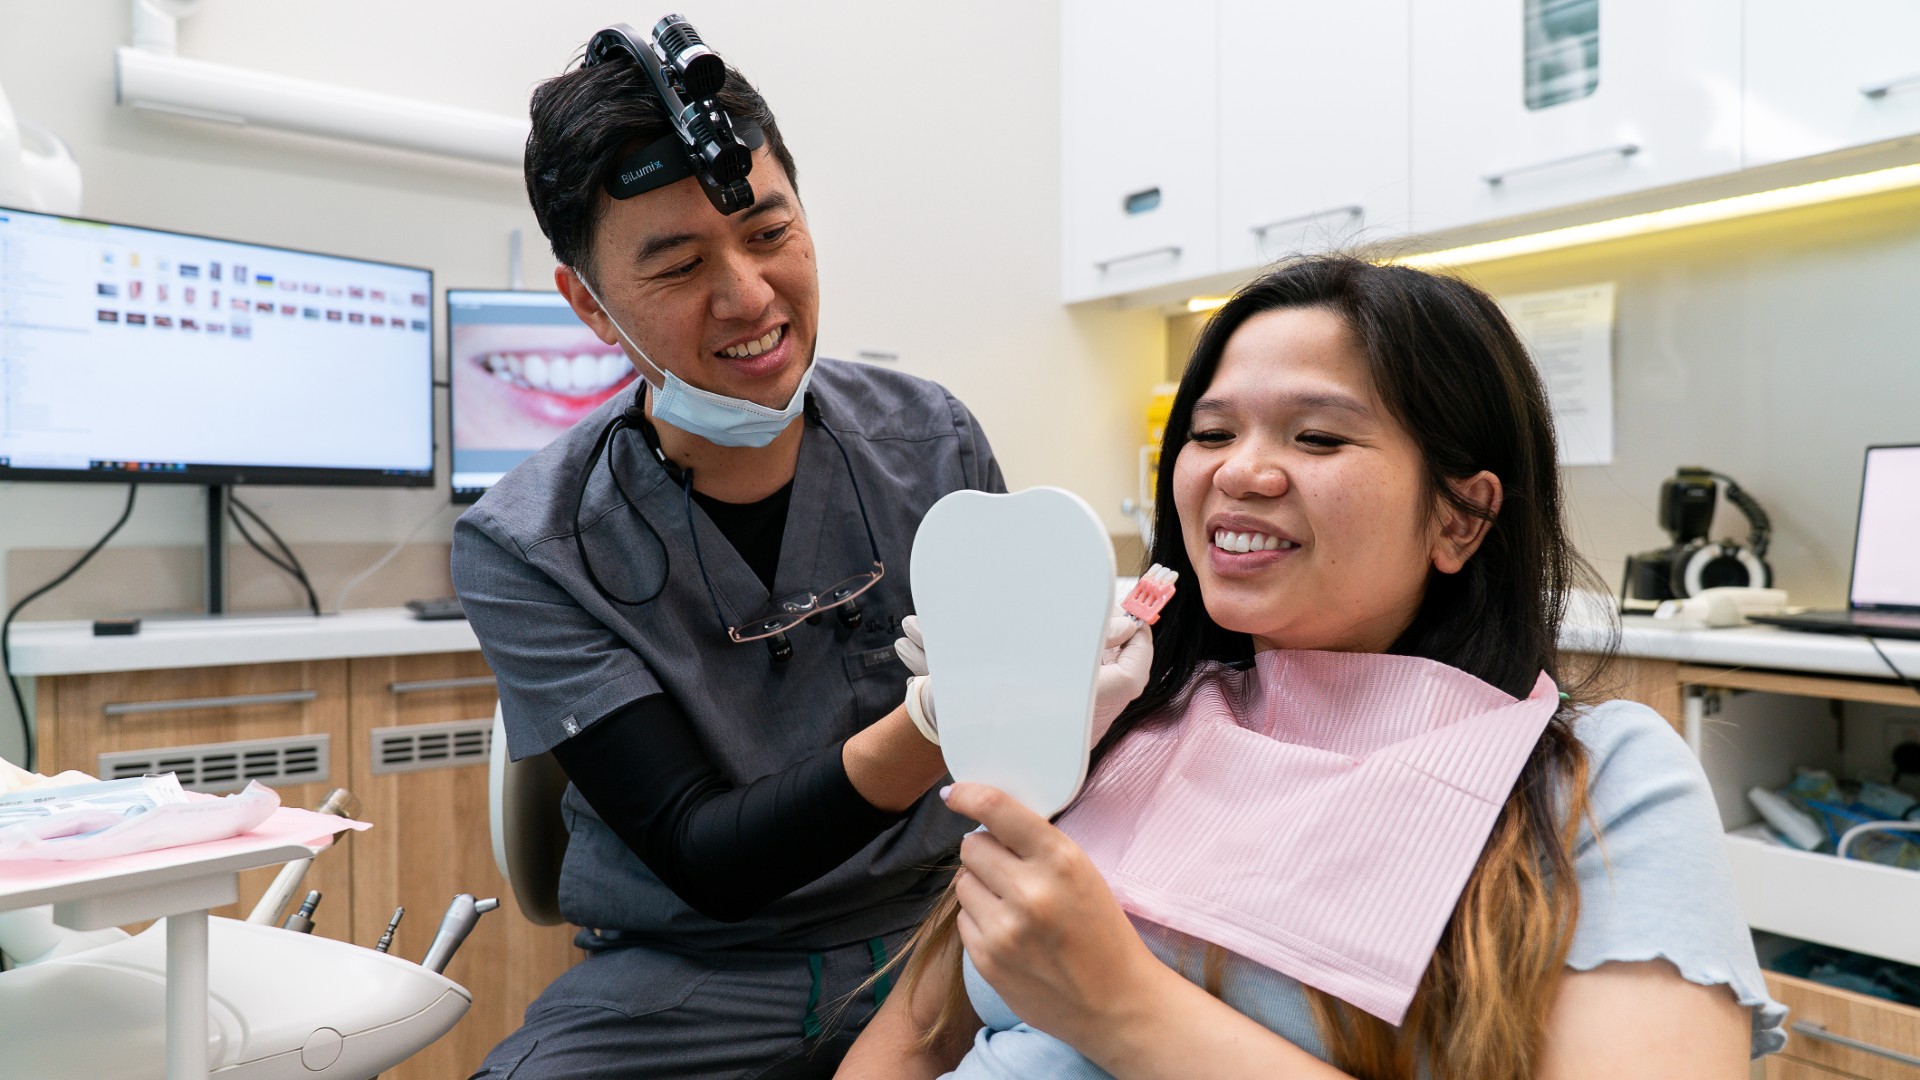
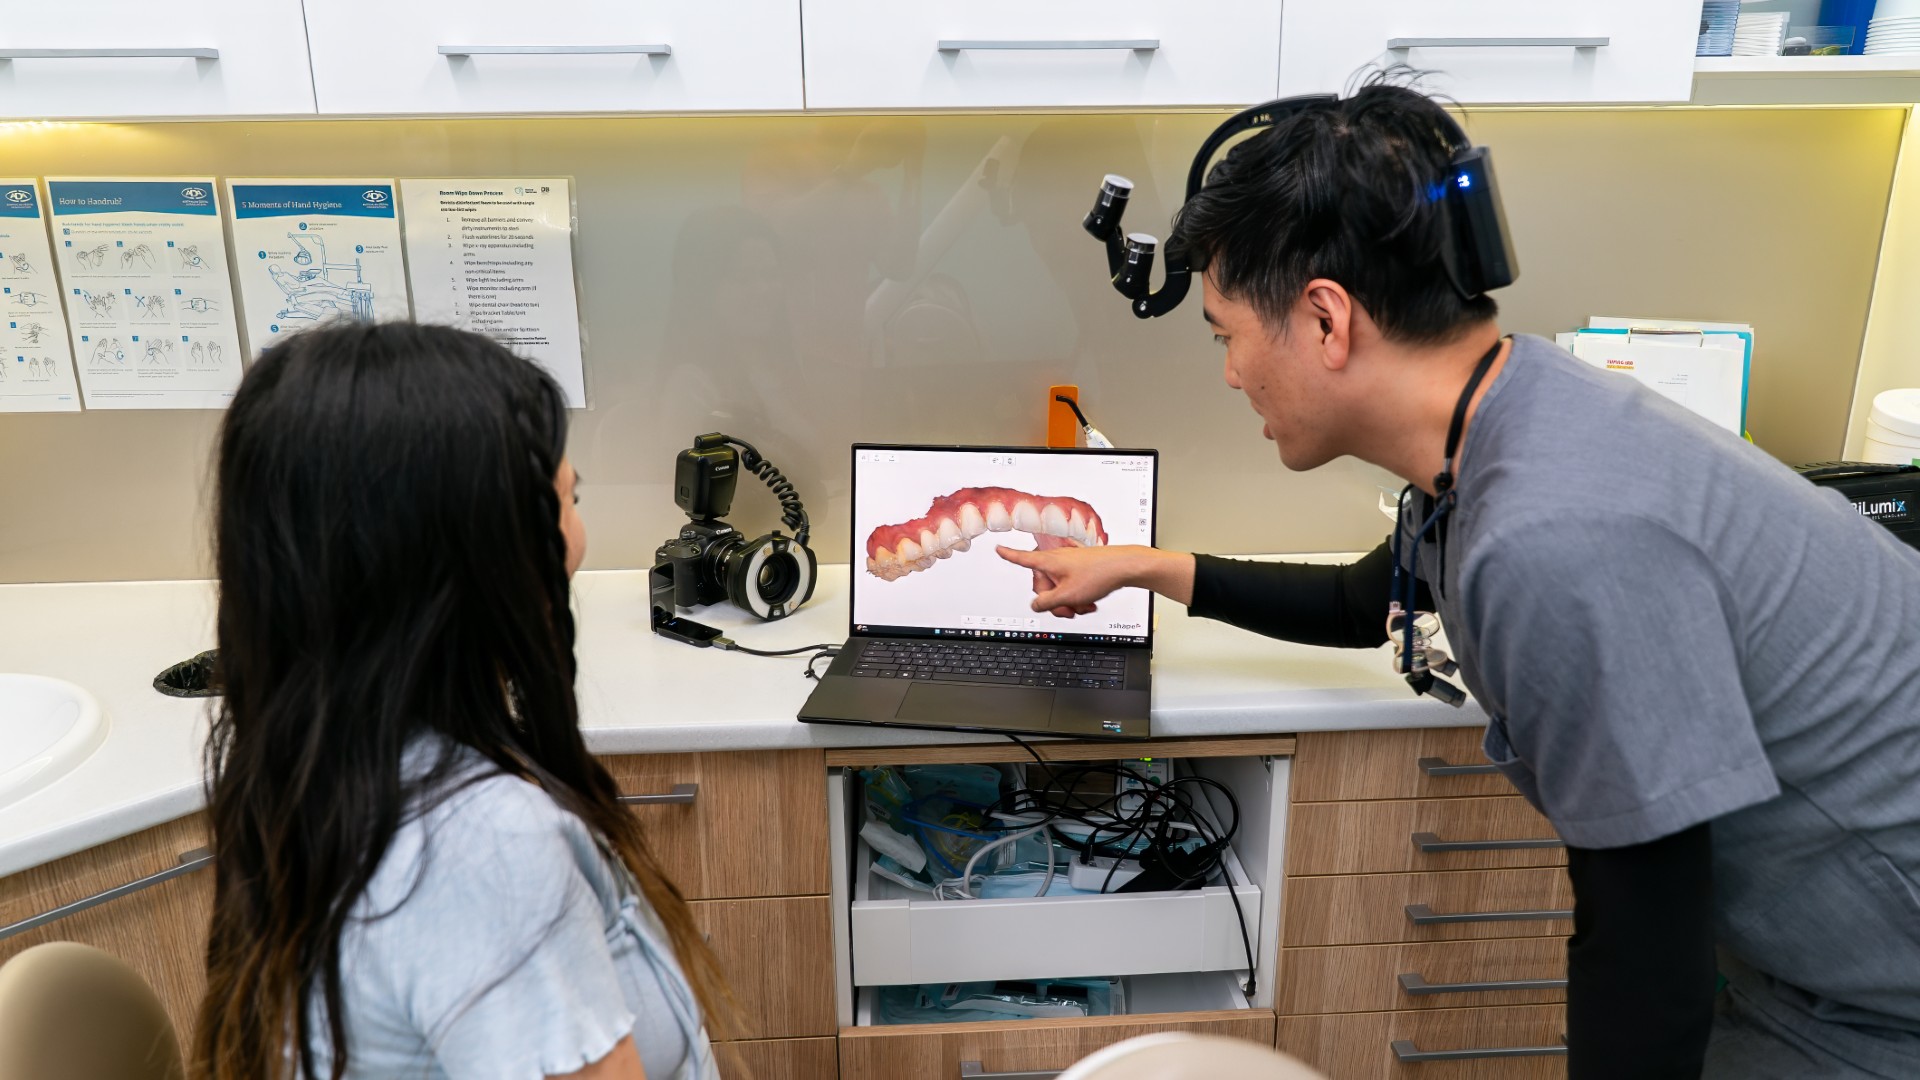
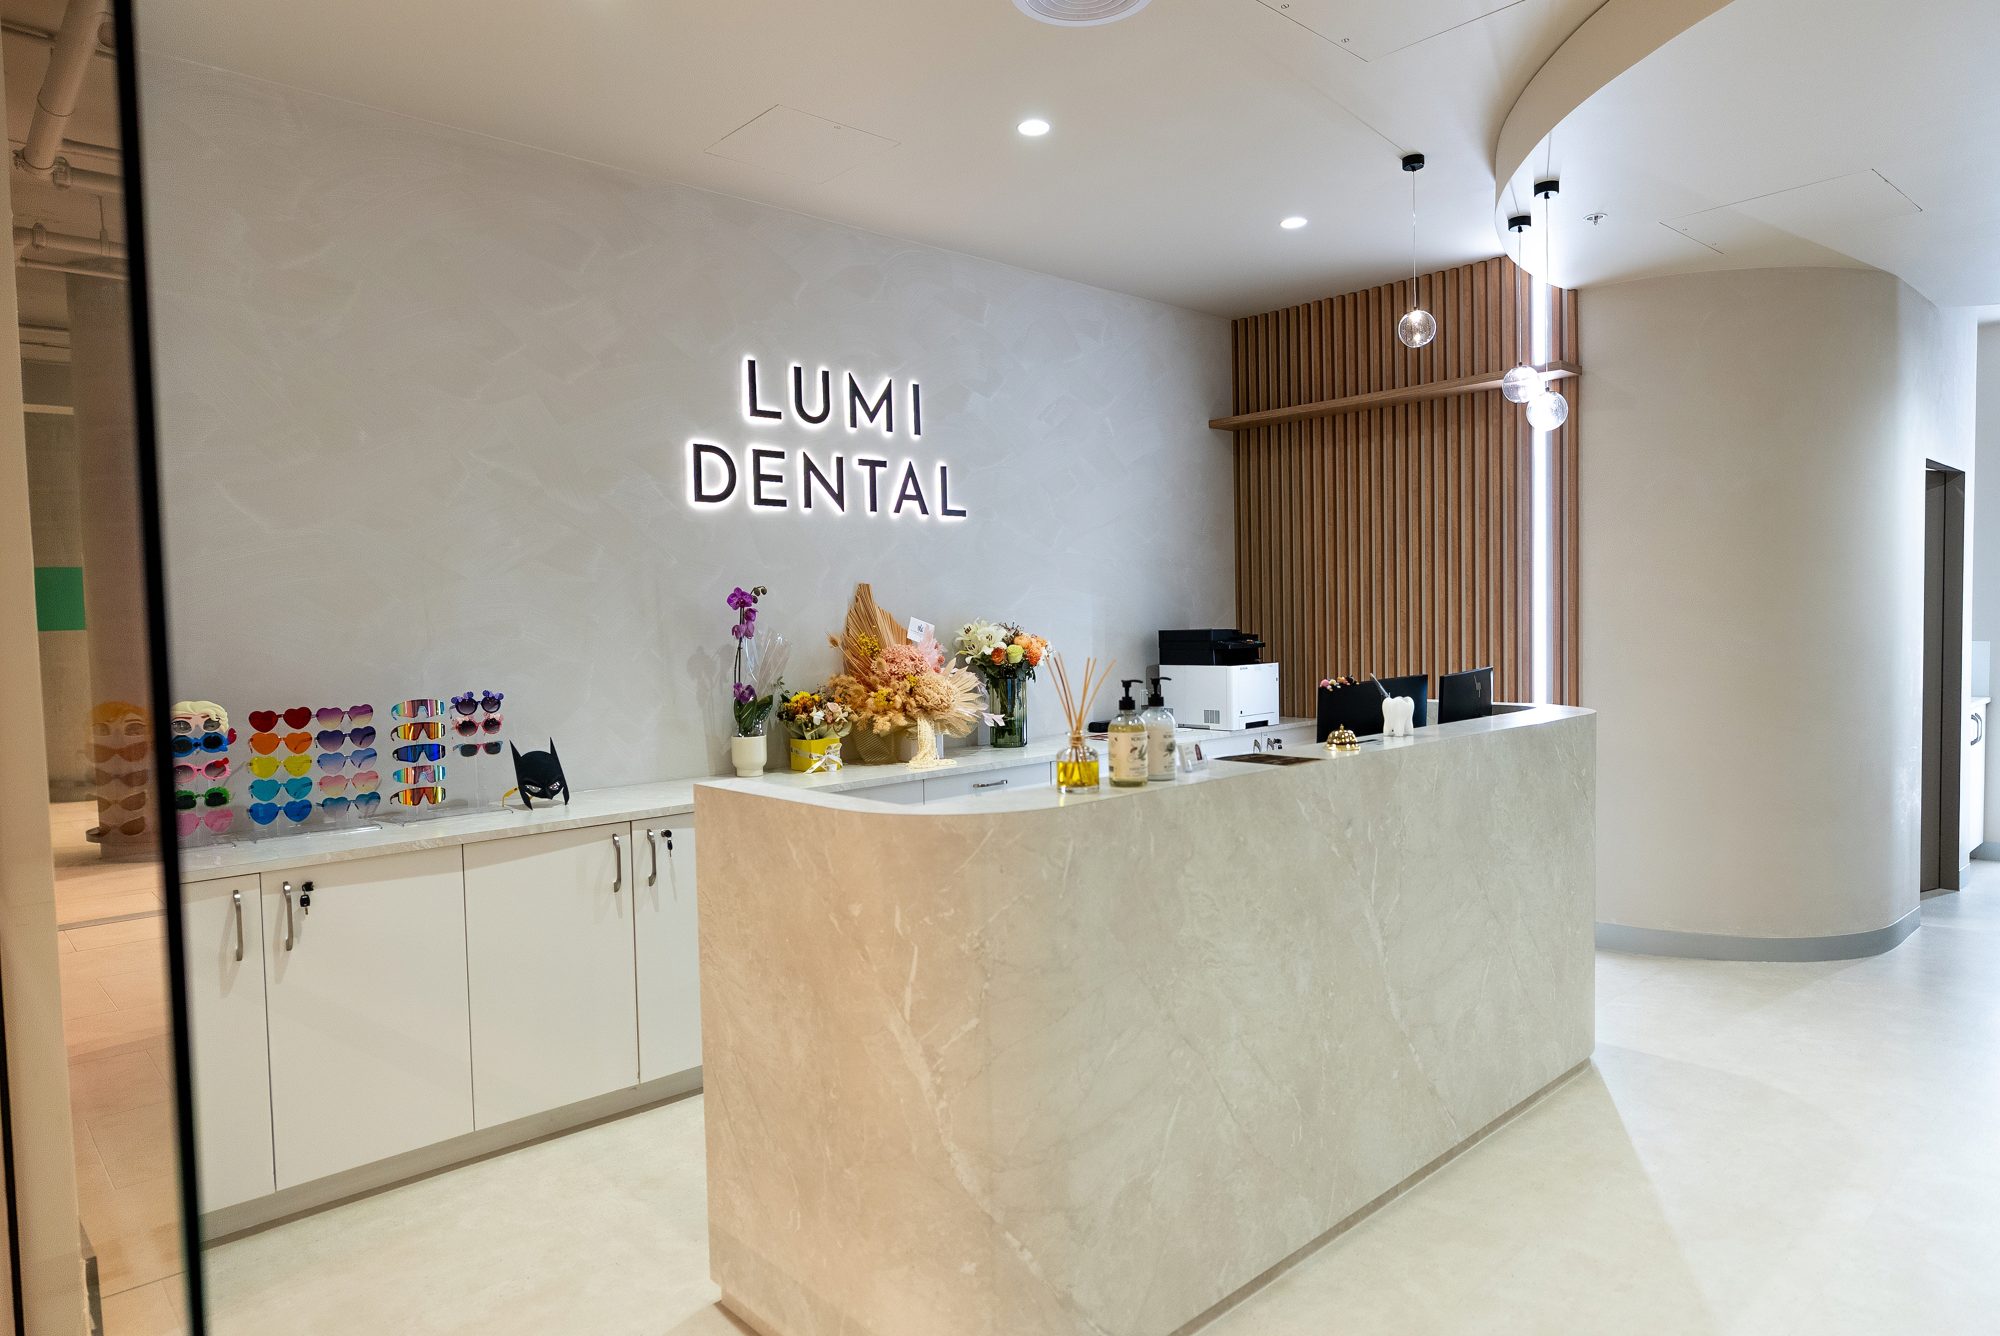
At Lumi Dental, whitening starts with an examination by a dentist, who checks the teeth, gums and any old fillings that will not change colour. The dentist records a starting shade and photographs, and describes them to you in words. Where trays are made, the team can show you, hand over hand if you like, how to load and seat them, and talk you through the in-chair steps if you choose that route. The whitening options are named Lumi Home, Lumi Refresh and Lumi Radiance, and the dentist will explain which may suit you. You can read more on the teeth whitening page.
Questions patients ask
Can you whiten your teeth if you are blind?
Yes, in most cases. Loading, seating and wiping trays can be learned by touch, and the dentist records and describes the shade for you.
How do I know how much whitening gel to use if I cannot see the tray?
Count rather than look: one small bead per tooth space, worked out from the centre of the tray. If you feel gel on your gums, use less next time.
How will I know if my teeth are getting whiter?
Ask the dentist to record a shade number and photographs before you start and at review, then describe the change in words.
Is in-chair whitening easier if I have low vision?
It can be, because there are no trays or gel to handle at home. Ask about light sensitivity and protective glasses first, and our guide to in-chair whitening describes what happens.
Can I get whitening instructions in large print or by email?
Yes. Ask for the format that suits you, whether that is large print, a screen-reader friendly email, a recording or a phone call. You can request it when you book through the contact page.
Thinking about whitening? Complimentary cosmetic consult in Melrose Park
If you are blind or have low vision and would like a brighter smile, the team at Lumi Dental can check your teeth and gums, record your starting shade and talk through whether trays or an in-chair visit may suit you. Book a complimentary cosmetic consult at Melrose Central in Melrose Park, or read about teeth whitening options at Lumi Dental. Patients visit from Ryde, Parramatta, Ermington and Rydalmere, and there is on-site parking.
Sources
- Vision Australia: How do you know if you have low vision?
- Vision Australia: Inclusive communication strategies
- Macular Disease Foundation Australia: Cataracts
- PMC (Dentistry Journal): Effectiveness of lighting conditions on shade matching accuracy among dental students
About the author
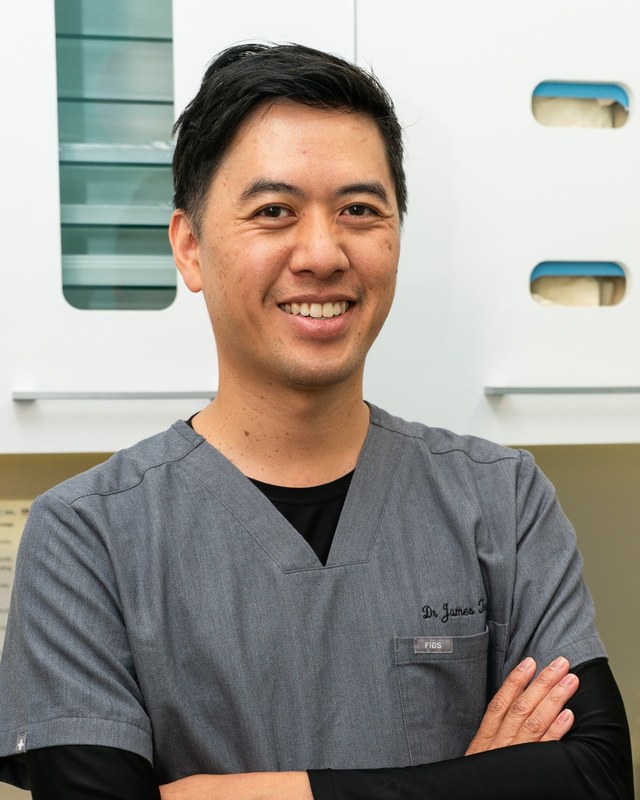
Dr James Tran is a general dentist at Lumi Dental in Melrose Park. He holds a BDent from the University of Sydney and a Graduate Diploma in Oral Implants, and is a Member of the International Congress of Oral Implantologists (MICOI).
This article is general information only and is not a substitute for an examination and individual advice from a registered dental practitioner. Suitability for any treatment varies from person to person.